How to Make a Wood Slat Wall with Just 6 Tools from VITO
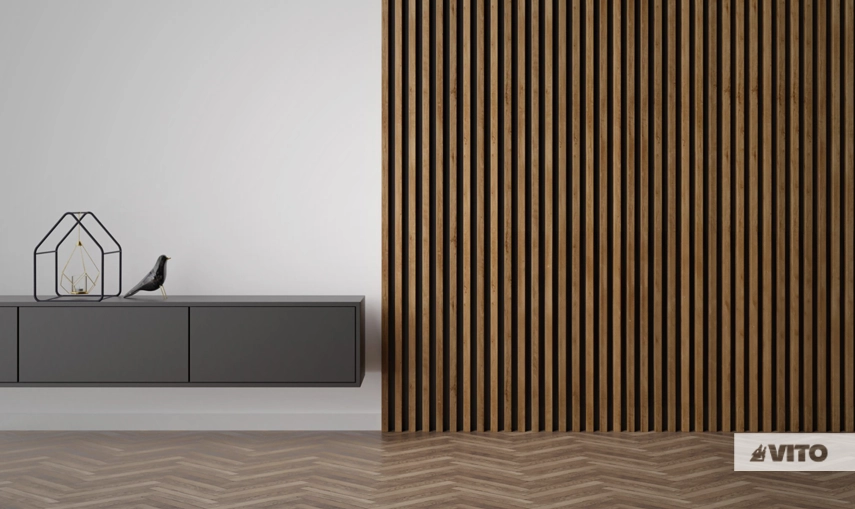
Adding wood slats to walls is an elegant way to introduce texture, style, and sophistication to your space. And with the right VITO tools, you can guarantee a professional, long-lasting finish. Below, we explain how to proceed every step of the process.
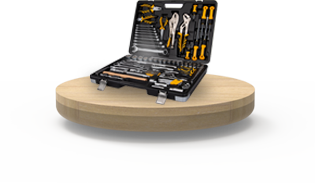
VITO tools required:
Materials needed:
- Wood slats (slatted panel)
- Wood glue
- Paint
- Measuring tape
- Plastic to protect the floor
- Masking tape
- Cloth
Step-by-step guide
1. Preparing the wall
Tools:
- Drywall Sander
Steps:
1️⃣ Cleaning: Start by wiping the surface of the wall to remove dust and dirt using a clean cloth.
2️⃣ Smoothing: Use the drywall sander to obtain a smooth, even surface, removing any imperfections.
2. Filling and Smoothing
Tools:
- Taping Knife
- Pole sander
- Drywall Sander
Steps:
1️⃣ Filling: Identify and fill any imperfections in the wall with plaster, applying it evenly with the scraper.
2️⃣ Smoothing: After the plaster has dried, sand the wall by hand with sandpaper to remove the larger irregularities. Then use the drywall sander to ensure that the surface is completely smooth and even.
3. Painting the Wall
Tools:
- Paint Sprayer
Steps:
1️⃣ Preparation: Protect the floor and adjacent areas with plastic and masking tape.
2️⃣ Painting the Wall: Paint the wall using the paint sprayer to obtain a smooth, even finish. Let it dry completely.
4. Marking
Tools:
- Digital Level
- Pencil or marker
Steps:
1️⃣ Measuring and Marking: Use the digital level to measure and mark the position of the slats on the wall (slatted panel), ensuring a perfect alignment. Mark the straight lines with a pencil or marker.
5. Fixing the Slats
Tools:
- Caulking Gun
- Digital Level
Steps:
1️⃣ Glue application: Apply wood glue to the back of the slatted panel using the caulking gun. Place this panel on the wall according to the markings you made earlier.
2️⃣ Fixing: Press the slatted panel firmly against the wall. Use the digital level to ensure that everything is properly aligned and levelled.
Where can I use wood slats?
Wood slats can be used in several areas of the house to create different effects and styles.
- Living Room: Ideal for creating a statement wall, adding a touch of sophistication and texture to the space
- Bedroom: Placing wood slats at the head of the bed can create a cosy and elegant look.
- Corridors: Using wood slats in corridors can add visual interest and make these areas more attractive.
- Home office: Wood slats can be used to create a perfect professional and elegant environment.
- Kitchen: Adding wood slats to a kitchen wall can create an interesting contrast with the cupboards and worktops.
Wood slats are a versatile choice for renovating any area with elegance. Inspire and transform your space with the help of VITO.
